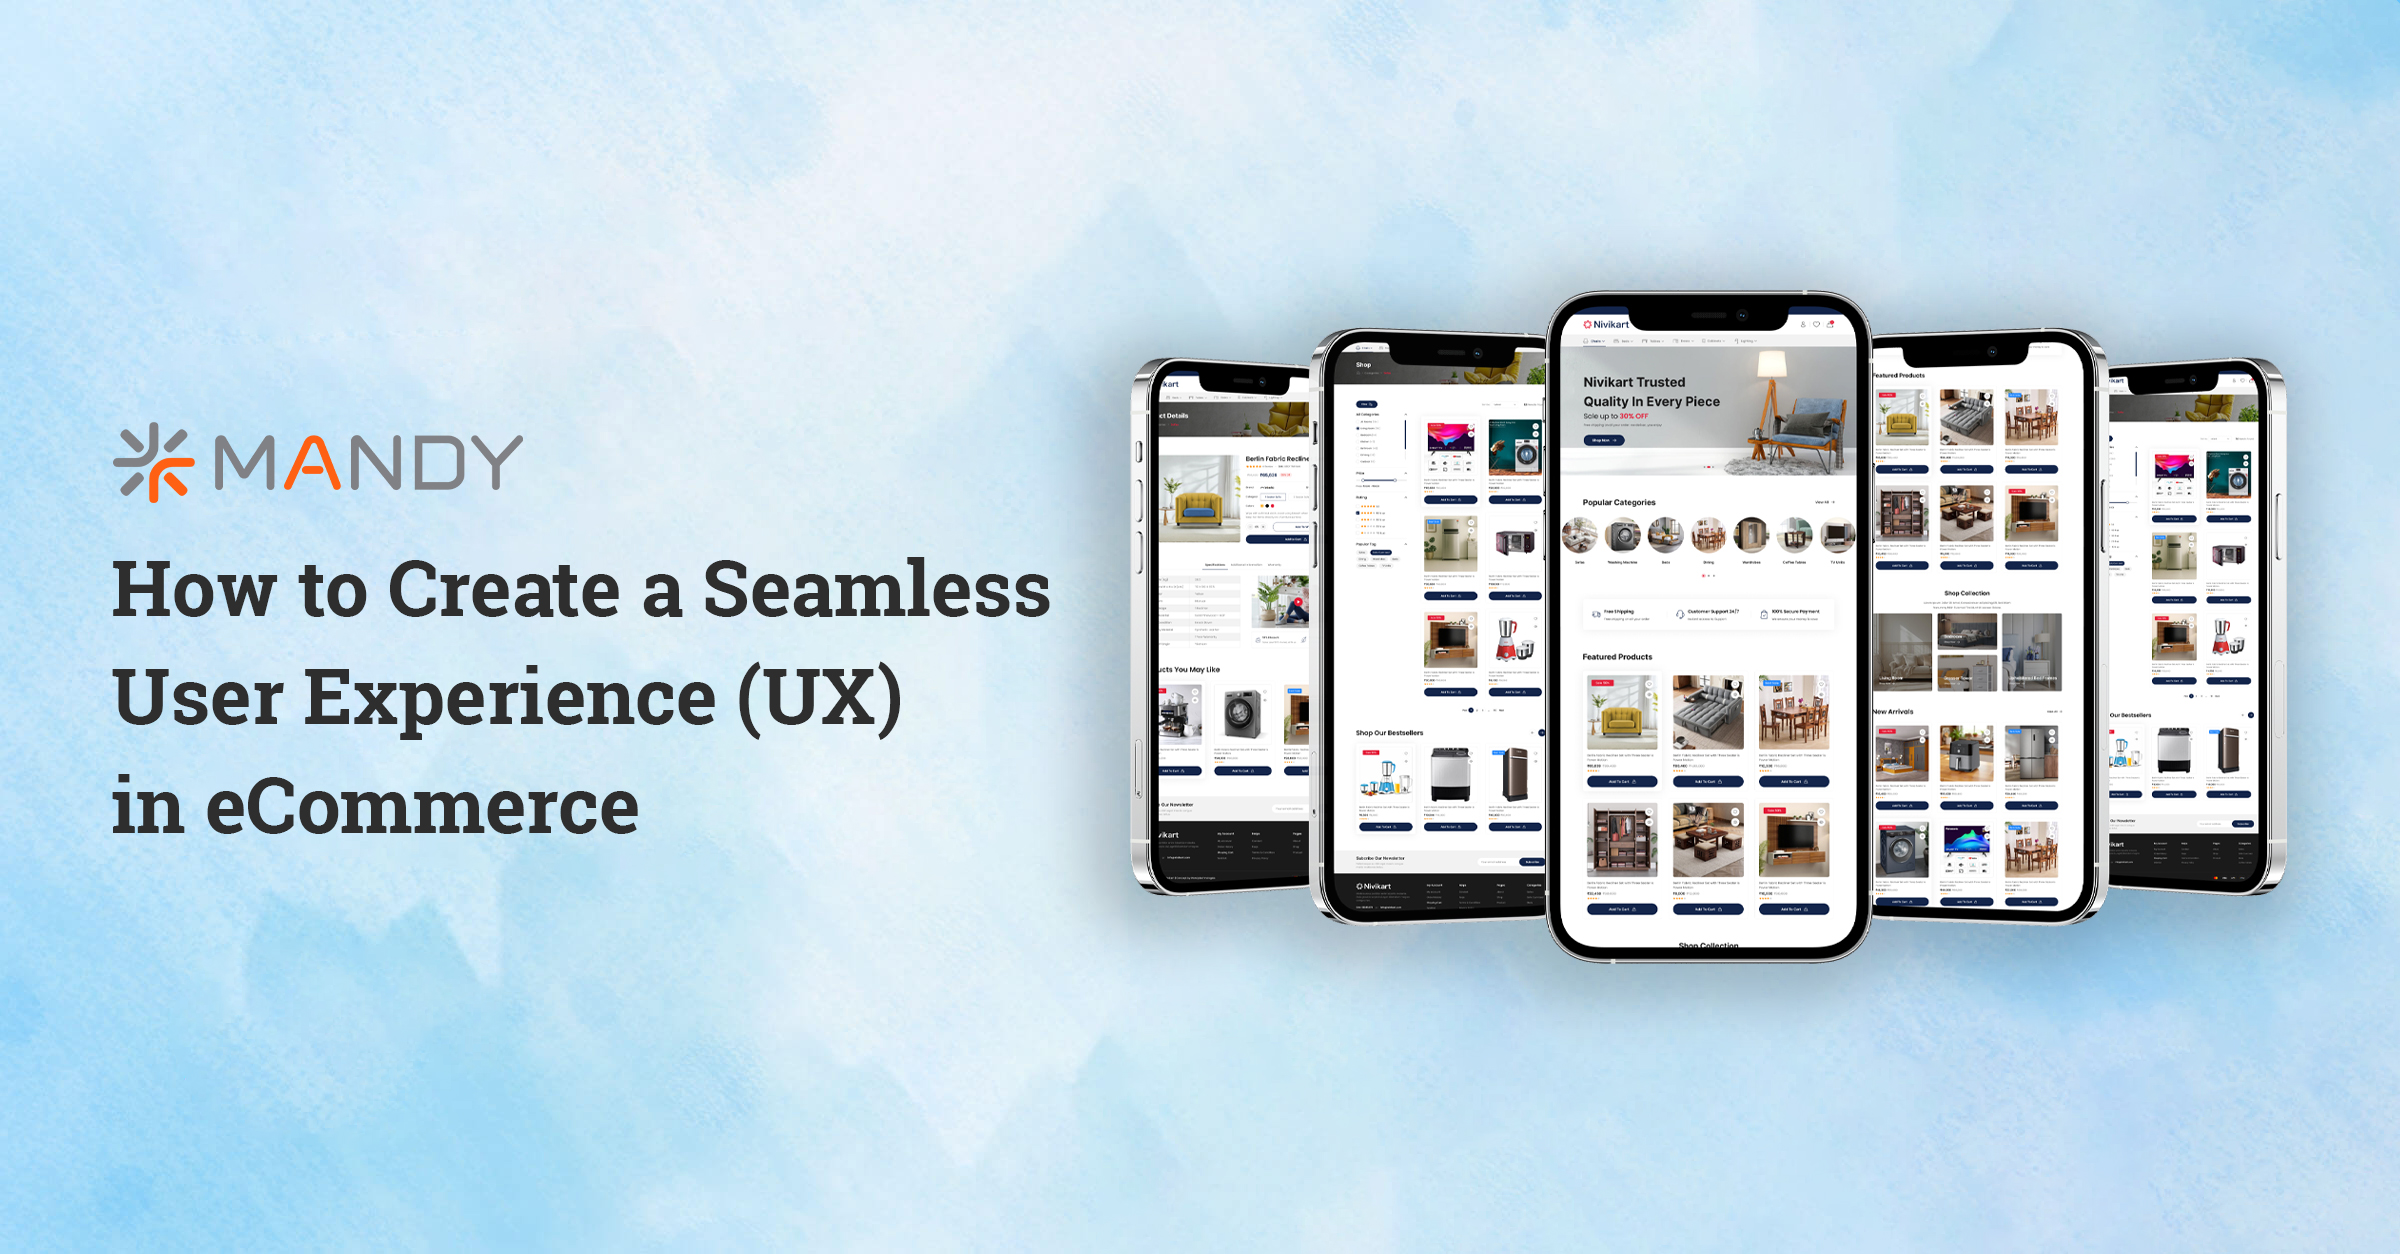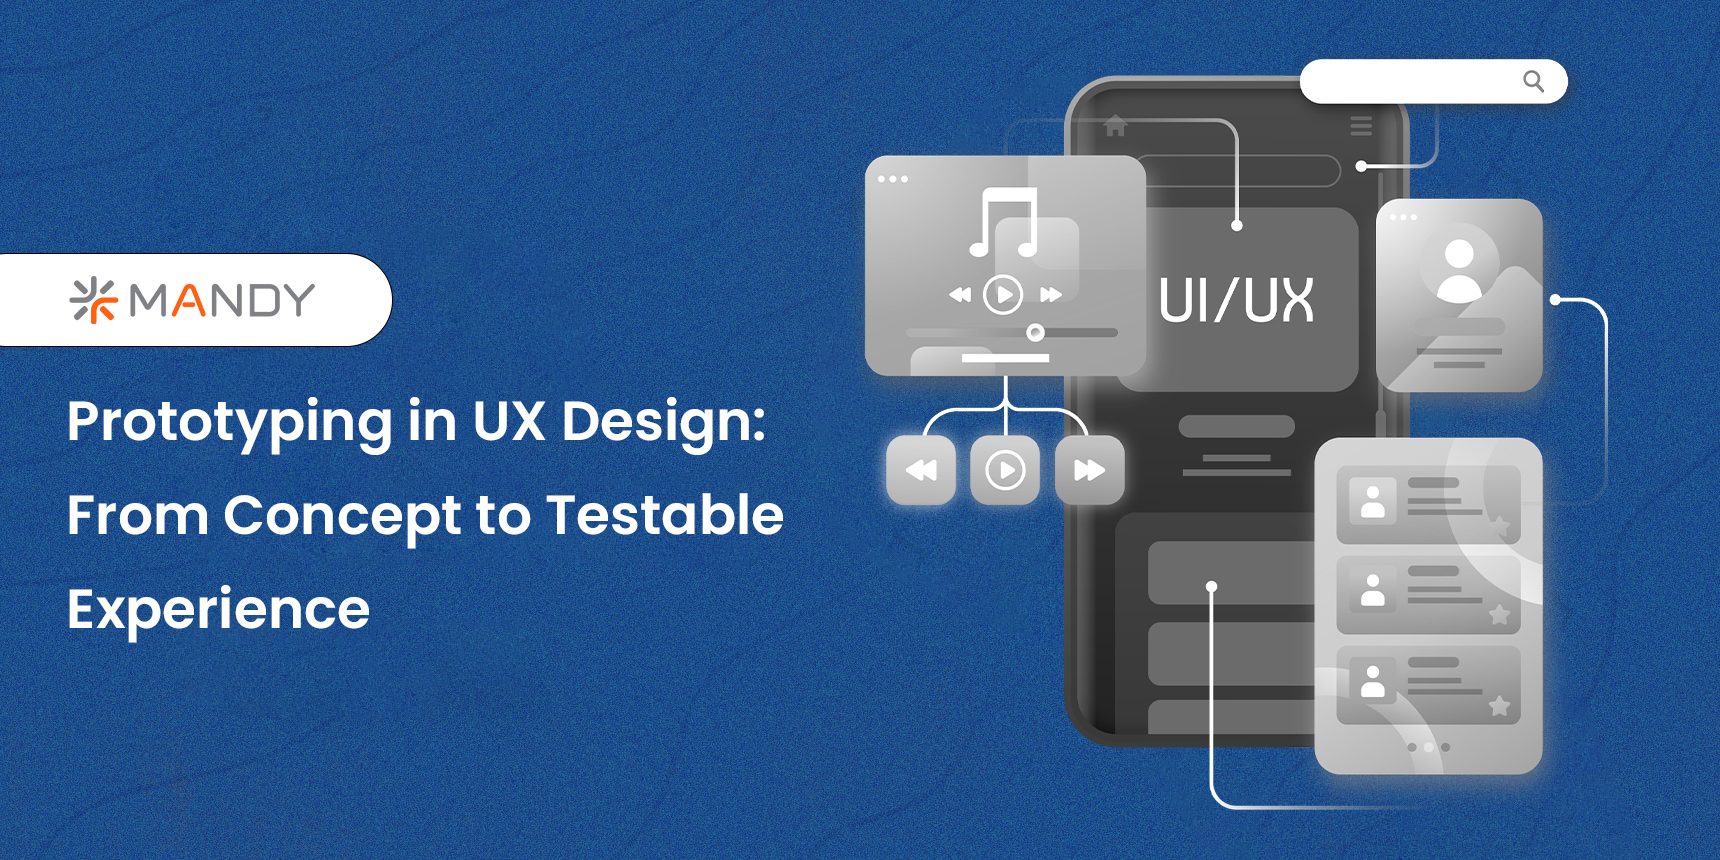
What Is Prototyping in UX Design?
Prototyping in UX design is the process of producing a realistic model of a digital product before development, usually without writing code. A prototype closely resembles the final product’s interface, interactions, and user flow, making it one of the most useful tools in a UX designer’s inventory.
Prototypes allow designers to experiment, confirm assumptions, and identify usability difficulties early on before they become costly blunders. They also serve as a common visual language for designers, developers, and stakeholders, allowing for faster feedback and more efficient cooperation. The iterative cycle refers to the continual process of designing, testing, and refining.
Why Design Websites and App Prototypes?
1.1 Avoid Expensive Reworks
Testing ideas early through prototyping significantly reduces the risk of costly redesigns later. Fixing usability issues at the prototype stage is far faster and cheaper than changing live code after development.
1.2 Accelerate Development and Time-to-Market
Rapid prototyping supports a fail-fast mindset. Stakeholders can validate design decisions quickly, developers receive clearer requirements, and teams move forward with confidence, speeding up product release.
1.3 Reduce Product Failure
High-fidelity, testable prototypes uncover usability issues before launch. This leads to more intuitive, user-friendly products and minimizes the risk of post-launch surprises.
1.4 Improve Adoption and Engagement
Well-tested products are easier to use, which directly impacts activation, retention, and overall engagement.
1.5 Demonstrate Functionality Clearly
Sometimes, words aren’t enough. Prototypes visually demonstrate how a product works, eliminating long explanations, technical misunderstandings, and unnecessary meetings.
1.6 Boost Team Collaboration
Prototypes make ideas tangible. Whether pitching a feature to stakeholders or validating an interaction with users, prototyping turns abstract ideas into testable experiences.
Types of Prototypes (Low-Fidelity Prototypes)
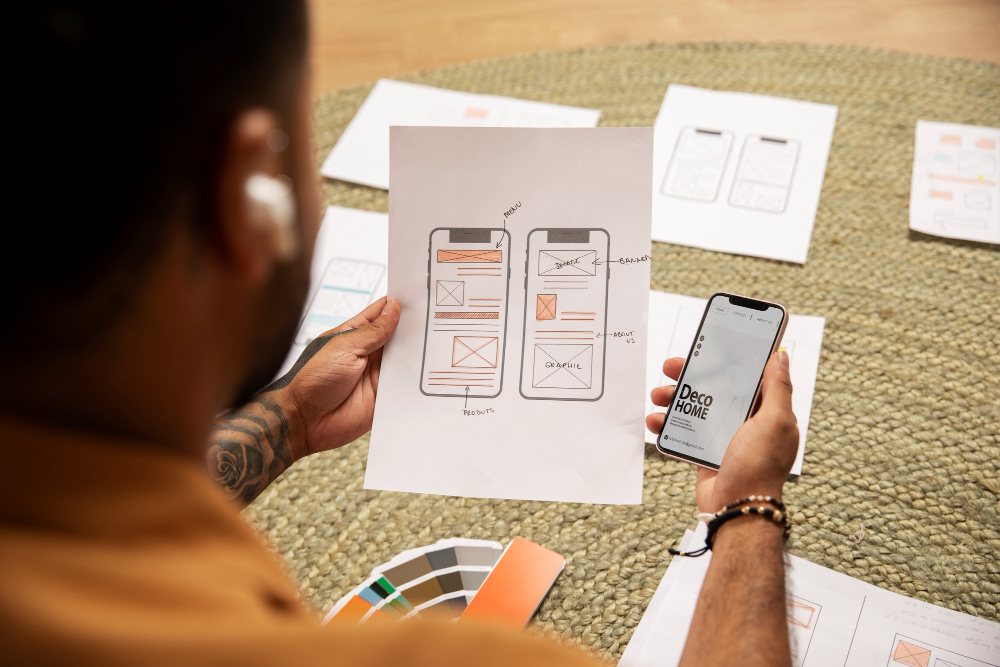
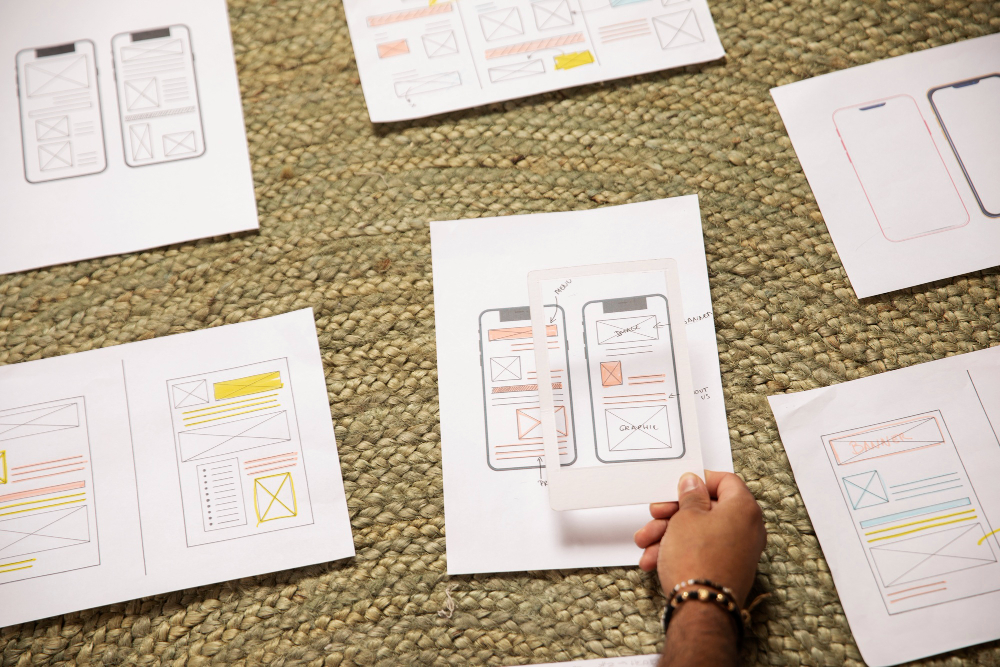
2.1 Paper Prototypes
Paper prototyping is the fastest way to visualize ideas. Using sketches and paper mockups, designers can explore layouts and user flows without worrying about visual polish.
- Sketching: Rough layouts to explore ideas quickly
- Paper mockups: Cut-out UI elements (buttons, menus, forms) arranged to simulate interactions
2.2 Rapid Prototyping
Rapid prototyping focuses on speed and learning.
- Quick iteration: Build → test → refine in short cycles
- Core functionality first: Only essential features are included
Mid-Fidelity Prototypes
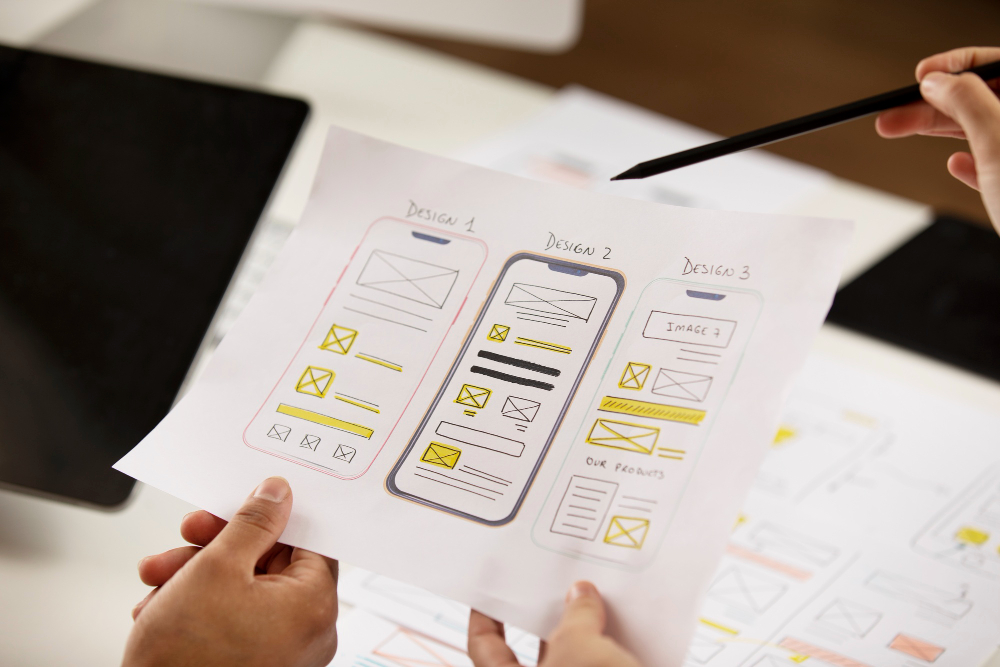
3.1 Wireframes
Wireframes are the structural blueprints of a product. They focus on layout, hierarchy, and content flow using simple shapes and placeholders without visual styling.
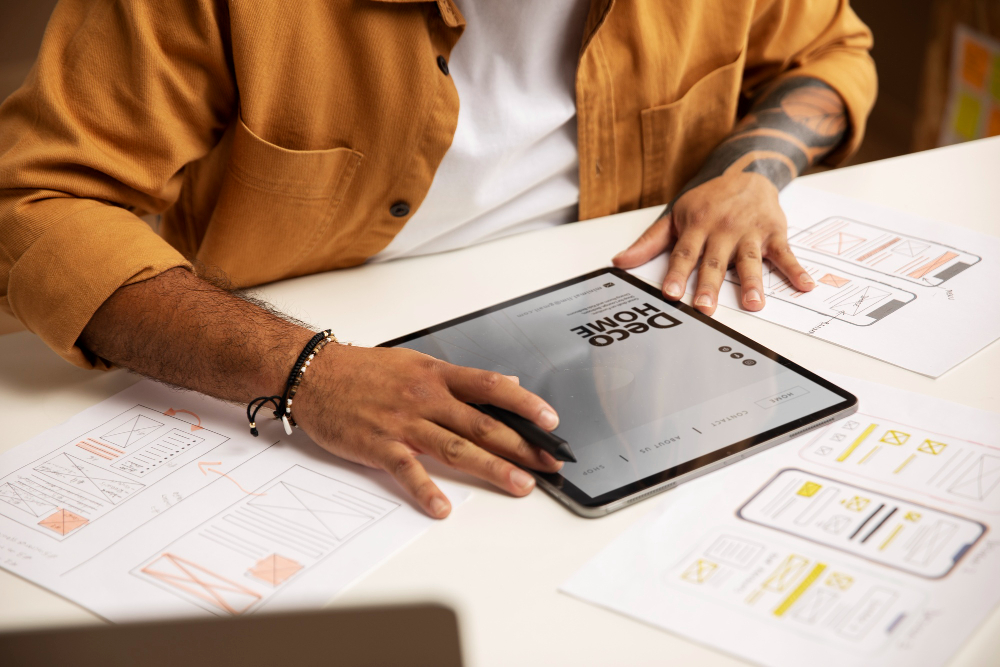
3.2 Mockups
Mockups introduce visual design elements such as colors, typography, and branding. They are static but help stakeholders visualize the final look and feel.
High-Fidelity Prototypes
4.1 Interactive Prototypes
Clickable and navigable simulations that closely replicate the real user experience.
- Realistic user flows
- Testable interactions and navigation
4.2 Functional Prototypes
These include advanced logic such as form validation, dynamic data, and conditional behavior, offering a near-real product experience.
Step-by-Step Guide to Designing a Prototype
5.1 Understand User Needs
Start with empathy.
- User research: Interviews, surveys, usability tests
- User personas: Represent key audience segments
- User stories: “As a user, I want…, so that…”
Clear communication of findings ensures alignment across teams.
5.2 Define Objectives and Scope
Clarify:
- What the prototype is testing
- Which features are included (and excluded)
- Required level of fidelity
- Tools best suited for the task
This prevents scope creep and keeps the project focused.
5.3 Design the Prototype
Start with Low-Fidelity
Create basic layouts and navigation flows to validate structure and usability.
Move to High-Fidelity
Enhance realism by adding:
- Advanced interactions (search, dropdowns, accordions)
- Stored variables and dynamic content
- Realistic data behaviour
Microinteractions
Subtle animations like hover states, menu transitions, and button feedback improve usability and delight users.
Transitions
Smooth transitions help users understand changes and reduce cognitive load.
Prototyping Forms and Data
- Inline validation and error handling
- Conditional logic
- Editable data (lists, tables, cards)
- Filtering and sorting interactions
These elements are critical for testing real-world use cases.
5.4 Advanced UI Design

UI Elements
Design consistent, intuitive components aligned with a unified design system.
Color
Apply brand colours thoughtfully, ensuring accessibility and sufficient contrast.
Typography
Readable, scannable typography is essential for usability and retention.
Spacing and Alignment
Pixel-perfect layouts reduce ambiguity during development.
Real Images and Content
High-quality visuals and real text improve realism, testing accuracy, and stakeholder buy-in.
5.5 Testing and Iteration
Usability Testing
Observe users completing tasks to identify friction points.
Feedback Collection
- Qualitative: Thoughts, emotions, opinions
- Quantitative: Task success rates, time on task, error counts
Analysis
Translate findings into actionable improvements.
6.6 Refinement and Documentation
- Prioritize feedback
- Implement improvements
- Retest and iterate
- Document decisions and rationale
Iteration ensures continuous improvement and clarity across teams.
Mobile App Prototyping Best Practices
- Touch-friendly gestures (tap, swipe, pinch)
- Efficient mobile navigation patterns
- Performance-aware design
Platform-Specific Design
- iOS: Native patterns, UI kits, screen resolutions
- Android: Material Design principles and flexibility
Advanced Prototyping Techniques

VR/AR Prototyping
Immersive experiences for training, education, and next-gen products.
AI-Powered Prototyping
AI assists with design generation, behavior prediction, and usability insights, accelerating innovation.
Top Prototyping Tools
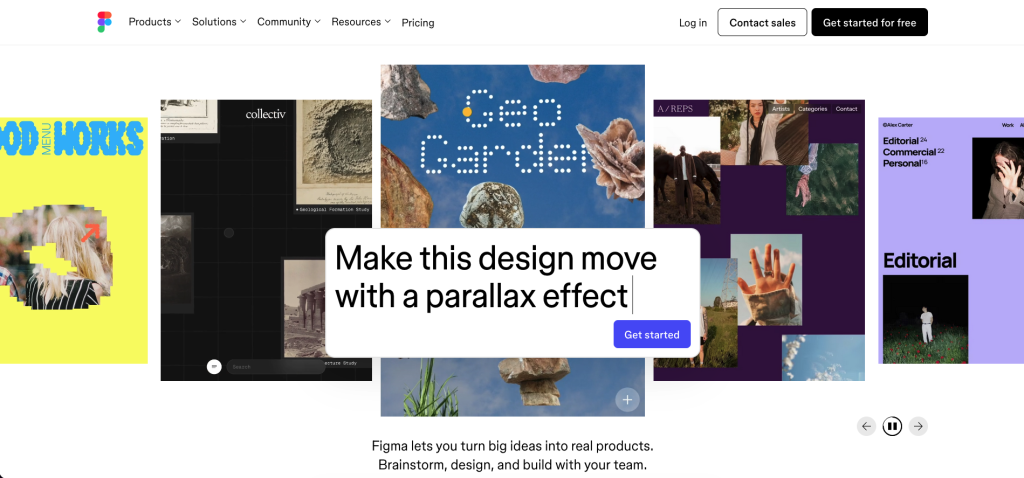
1. Figma – Real-time collaboration
2. Sketch – Clean UI and plugins
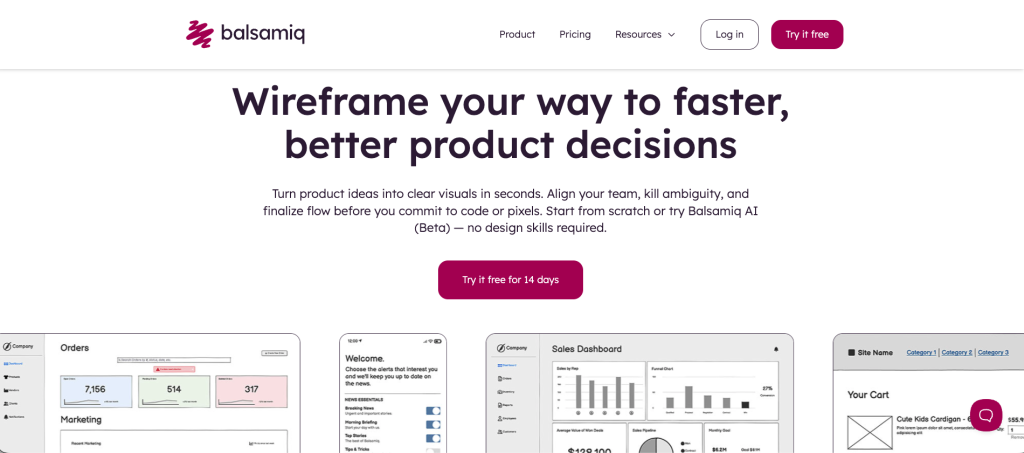
3. Balsamiq — Low-fidelity wireframes
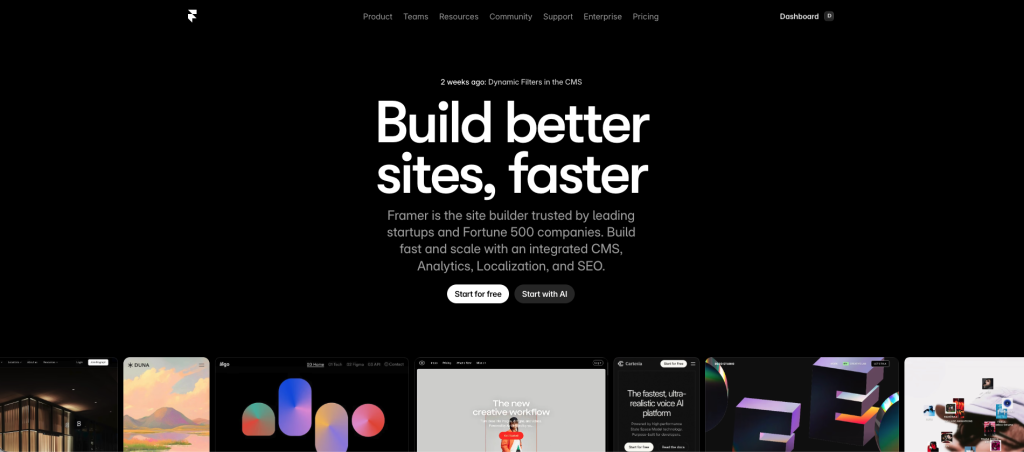
4. Framer – Advanced animations
Framer – Advanced animations
Final Thoughts
There’s no single “right” way to prototype. The best approach depends on your product, team, and goals. Start simple, validate early, and increase fidelity as confidence grows.
An agile, iterative mindset testing often and learning fast is the most reliable path to building successful products. Remember: mistakes aren’t failures if they happen early. They’re guideposts pointing you toward better design.